Fiberglass is one of the most commonly used materials for RV roof construction. Although it is portable and strong, if your RV roof fiberglass begins to exhibit signs of wear and tear over time, it may require some repair.
A fiberglass roof coating applied correctly can make all the difference. The advantages include ensuring that your RV roof is weatherproof and impervious to cracks, as well as extending the life of your roof by shielding it from the elements.
Mobile Detail Doctor, an expert paint correction and mobile car detailing service company in Wake Forest has outlined the following tips for applying fiberglass roof coating to your RV.
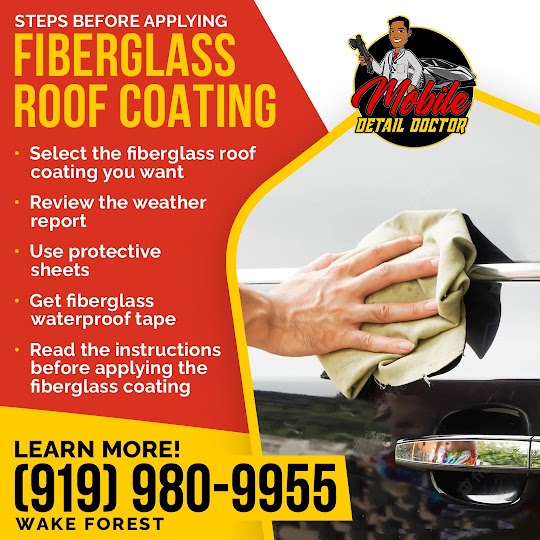
Steps Before Applying Fiberglass Roof Coating
1. Select the fiberglass roof coating you want
There are several coating types that work well with a fiberglass roof. Your choice will depend on your preferences and financial constraints. Some coatings are made with acrylic fiberglass polymers to generate a tough covering that will bend with the movement of your RV roof.
The roof size will also determine how much fiberglass coating you need.
2. Review the weather report
Once applied, the fiberglass roof coating will need time to dry. You don’t want some rain to ruin your hard work. The application of the coating can also be impacted by too much sun.
Choose a shaded region for best results. If you are working indoors, rain and sunlight are not an issue. If this is the case, make sure the space is well-ventilated.
3. Use protective sheets
Use a masking film or protective overspray sheeting before you begin cleaning an RV or applying a roof finish. This serves to shield the outside of your RV from any runoff.
If you choose to forgo the protective sheeting, apply the fiberglass roof coating with extra caution and wipe down spills and splashes that run down the sides of your RV.
4. Get fiberglass waterproof tape
All the seals and vents must be protected as part of the preparation work for RV fiberglass roof maintenance. Tape the roof’s edges and sides to help stop the fiberglass roof coating from splashing over the sides. This will also help the finished job look neater.
5. Applying the fiberglass coating
Once you have the tools for RV detailing, you can follow these simple instructions to restore your RV roof to new condition.
- Thoroughly stir the coating mixture.
- Apply the coating carefully around air vents, air conditioning units, skylights, and anything else that is fixed to the roof, using the paintbrush to cover all the edges and corners of the roof.
- Next, apply the remaining fiberglass roof coating using a roller brush. Work methodically in parts to avoid stepping on freshly applied coating.
- Apply the initial layer, then allow it to completely dry.
- Apply a second layer after that. Allow it to dry once more.
- Once the last fiberglass roof coating has dried, you should have a beautiful-looking roof with a smooth finish.
- Remember to clean your equipment and brushes after each usage.
Get a Professional RV Roof Coating
While RV fiberglass roof coating can seem simple, it requires experience and precision to do it right. This is why most people go to vehicle paint correction and coating companies like Mobile Detail Doctor to ensure it’s done correctly.
Mobile Detail Doctor is Wake Forest’s leading car detailing service, paint correction, and ceramic coating company. They have the tools and experience to expertly apply fiberglass coating to your RV roof to ensure a flawless look.
In addition to providing specialty treatments like ceramic coatings and paint correction, they also offer exterior detailing services like clay bar decontamination and rim waxing.
Call Mobile Detail Doctor at (919) 980-9955 to speak to an auto detailing expert.